
Around February this year, I began working with a photo stitching technique. It’s known as the Brenizer method and its a way of taking a series of images captured with a longer lens, and stitching them together to make a wider angle photo.
Creating images with this technique has two primary benefits. The first is that these stitched images come together to form a ridiculously high resolution image. The stitched images are often made of 30 or more full resolution images, making for a final digital file that is about 15 times larger than a standard one. Not 30 times larger because stitching photos requires a good amount of overlap from one image to the next. These super-high res photos could be printed at a massive scale. Like, 80″x120″ without any noticeable loss of quality.
The second reason I’ve fallen in love with this technique is the effect that it often has on the final image’s depth of field. Depth of field (or, how much of the image is in focus at once) is controlled by how much light is allowed to pass through the lens at any given moment; It’s the “aperture”. The wider the aperture, the more shallow the depth of field. And, depth of field is made more dramatic the longer the focal length of the lens. So, if you pair a relatively wide aperture with a long lens, the depth of field will appear to be extremely shallow. Only a sliver of the scene will remain in focus. But if you wanted a shallow depth of field with a very wide lens, well, you’d be mostly out of luck. Unless you wanted to spend a lot of money. Even extremely wide apertures produce little effect on the depth of field when a wider lens.
Stitching to the rescue! When you take a lot of photos with a long lens and a wide aperture, then stitch them together, viola! Shallow depth of field in a wide angled image. It creates a strange kind of ‘off’ look to the final image and has a way of emulating the look of medium format images of the past.
Unless you’re a photography nerd, you probably won’t notice these kinds of things. But for someone like myself who creates thousands of images every year, it’s a breath of fresh air and it’s a new tool at my disposal.
I’ve been refining my process for these images since February and these are the images I’ve created since then and really like. Most of these come from my client work, but some are from my own interest as well.
If you’re interested in creating images like these, well, you’ll have to figure it out. This isn’t a tutorial, it’s just a recap of what I’ve been working on. But here are a few things I’ve learned:
- Notice markers in the real world for where the edges of your final image will be.
- “Scan” the whole space between those markers by taking lots of photos in an overlapping grid on your scene.
- Scan left to right or top to bottom, depending on the final orientation of your image (portrait or landscape).
- Always hold your camera in landscape while creating images, holding the camera in portrait will be harder to stitch.
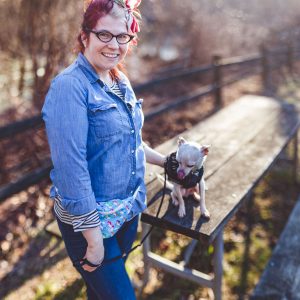
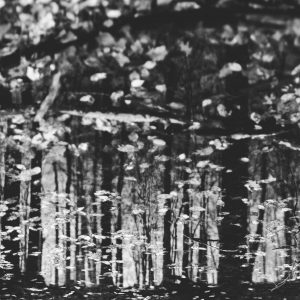
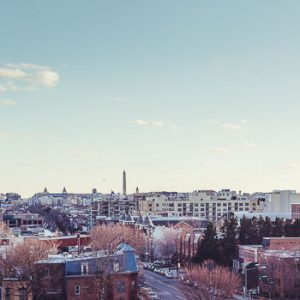
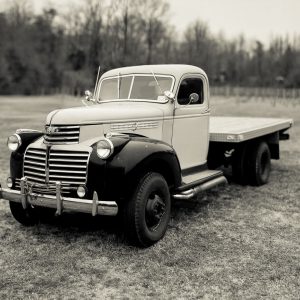
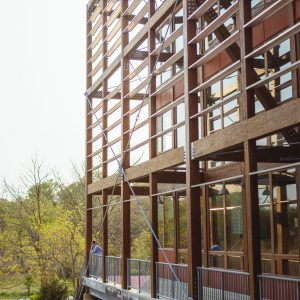
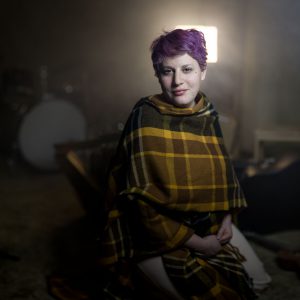
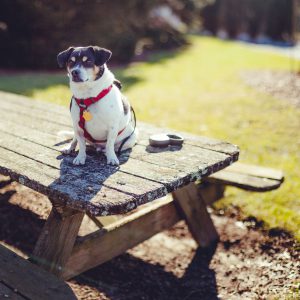
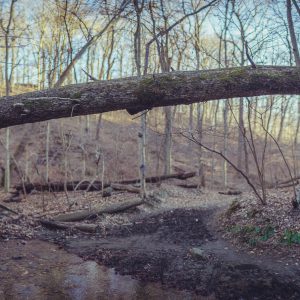
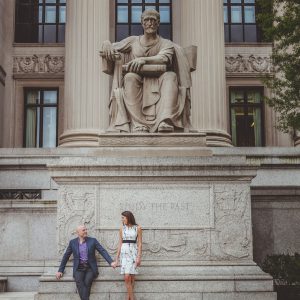
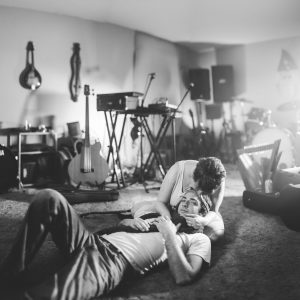
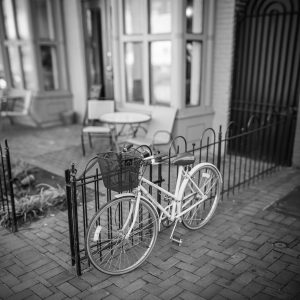
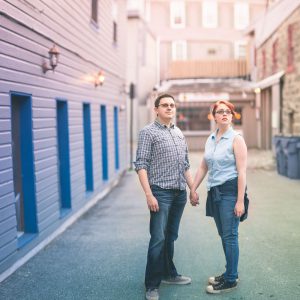
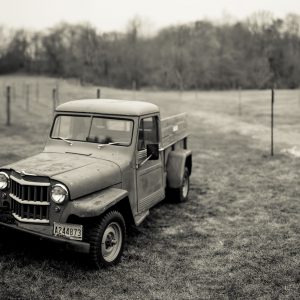
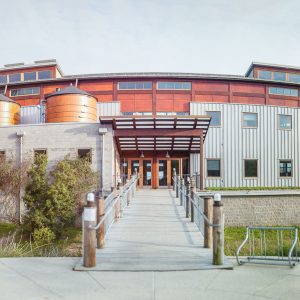
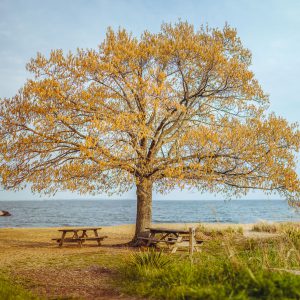
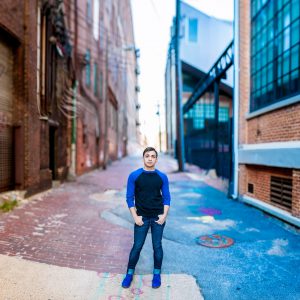
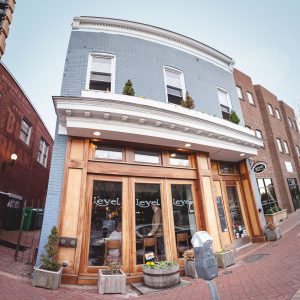
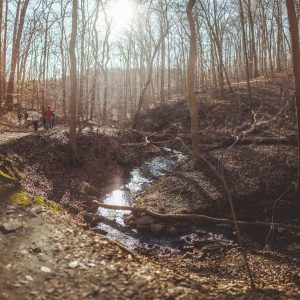
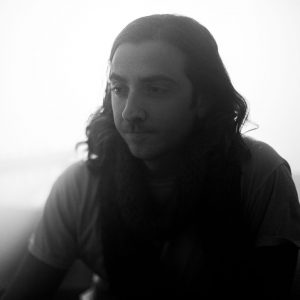
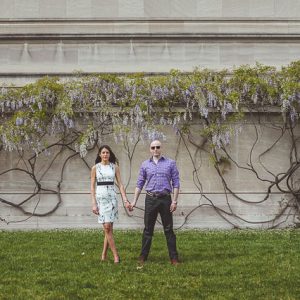
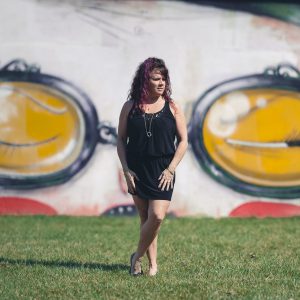
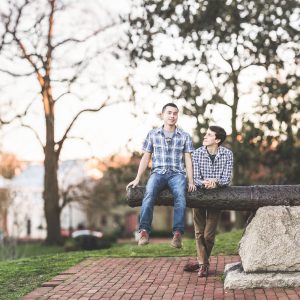
Here are the results of my stitching work since February.

Recent Discussion